
DIY Dip Station
I love to DIY! I have updated entire bathrooms in my house. This DIY Dip Station is simple enough and cheap enough that you can make it in a afternoon. It is a heavy duty piece of equipment that will be in your garage gym for years to come.
I built this piece for several reasons:
- Budget
- Increased training efficiency for myself and the groups of athletes I train
- To improve on the DIY versions I saw on the Internet
Budget
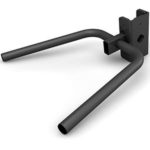
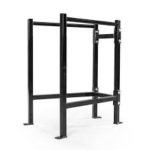
Both of the pieces below are over $300 + shipping. While I agree those pieces are well worth the money, they are not in my budget. I built this for $75 (cheaper for those who have scrap materials and screws)
Improve training efficiency and a better design
I train small groups of athletes out of my garage gym so I wanted another dedicated DIY Dip Station for them and to leave my Power or Half Rack free for other concurrent movements. In my opinion most DIY Dip Station designs I saw were PVC based (weak) or simple Parallel Dip stations (standard). I wanted to improve the DIY Dip Station for Garage Gym Lifters.
We can now super set opposing movements – Squats, Rows, Pull ups, and / or Chin ups – with Dips without having to change equipment. Or if one of us is going beast mode – bench press with dips now are on the table because we have a dedicated DIY Dip Station.
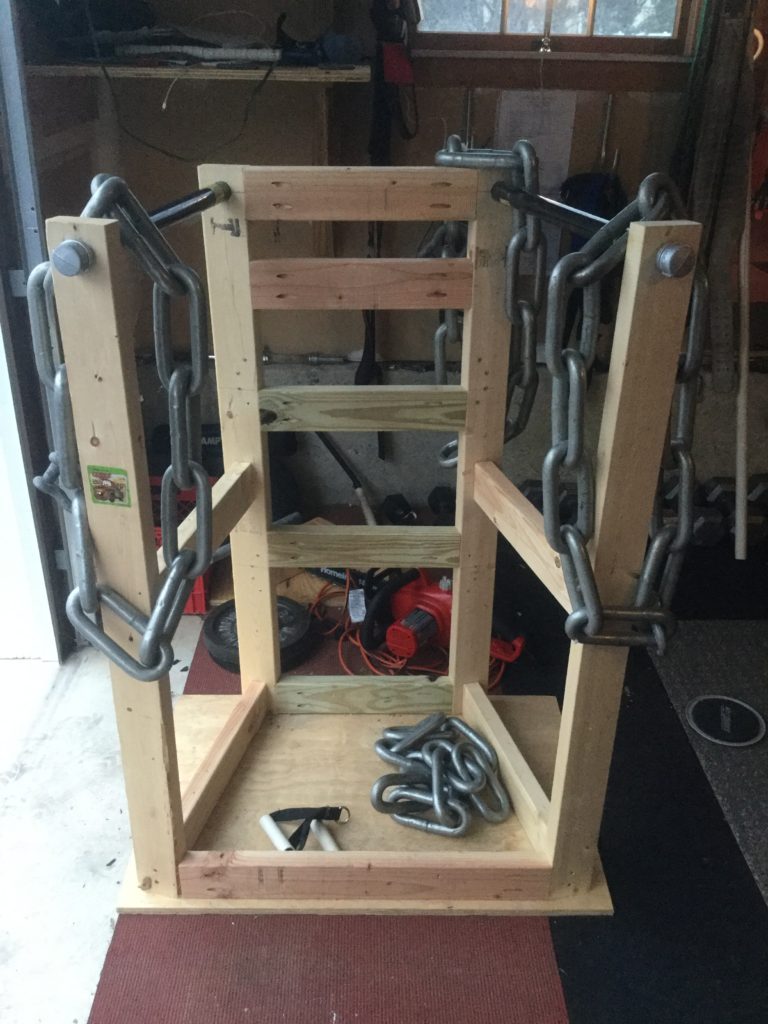
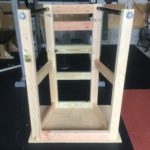
In a nutshell, I created a DIY Dip Station with the Heavy Duty of the Elite FTS station and “V” of the Hammer attachment. Here’s how:
Materials
- 8′ – 2×4″s = 5 (6 just in case)
- 1”x24″ Steel Pipe = 2
- 1″ Steel Pipe CAPS = 2
- Kreg 2-1/2 in. Coarse Zinc-Plated Steel Square-Head Pocket Screw (1, 50-Pack)
- Deck Mate #8 x 2 in. Star Flat-Head Wood Deck Screws (1, 1 lb.-Pack)
- 2’x4’ sheet of ¾” plywood
Tools Needed
Power Drill Driver
I have the DEWALT 20-Volt MAX Lithium-Ion Cordless Brushless Compact Drill Driver with (2) Batteries. The Drill Driver is the barbell or Power Rack of your workshop. It is the tool you will use most so buy once, buy it right. DIY TIP – get the 2nd battery. Most people are nodding their heads right now with agreement. You will understand the frustration the first time your battery dies in the middle of a project.
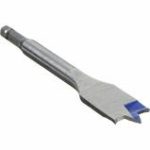
1” spade bit
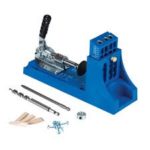
The Kreg Jig
I have the K4 Pocket-Hole System which includes Jig, drill and driver bit, 2″ face clamp, and screw kit. The clamps alone are worth for me since I work alone 99% of the time. The Kreg jig system is the SECRET to how I built the DIP STATION so sturdy at a 15-degree “V” angle.
Chop Saw or Miter Saw
- I have the DEWALT 10 in. Compound Miter Saw
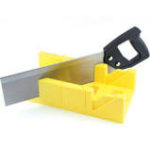
- I guess you could use the old school miter box. This is where most of us “DIYers” got started but achieving the proper 15 degree angle uniformly is nearly impossible without the proper saw.
The Building Process
Make your cuts
- 48 inch uprights x 4
- Cut 2 of your 8’ 2×4”s in half
- They are cut at 90 degrees on both ends
- 19 1/2 inch cross members x 4
- These are the horizontal supports to the uprights
- They are cut at 90 degrees on both ends
- 15 1/2 inch cross members x 5
- These are the horizontal support that CONNECT the uprights perpendicular to the Dip Handles
- Cut them at a 15 degree angle on both sides
- The 15 ½” measurement is from the SHORTEST edge of the cut
- 26 3/4 inch base cross member x 1
- This is the longer base of support on the bottom that CONNECTS the uprights
- The 26 ¾” measurement is from the LONGEST edge of the cut.
- 24 x 36” plywood base
- Buy a sheet of 2’x4’ ¾” plywood and rip across to a 36” measurement
Pre Drill with Kreg Jig
Using your Kreg Jig, drill the 5, 15 1/2 inch cross members on both sides of the LONGER side of the 2”x4”
***It is beyond the scope of this article to explain how to use the Kreg Jig. YouTube is filled with great videos on how to get started.
Assembly
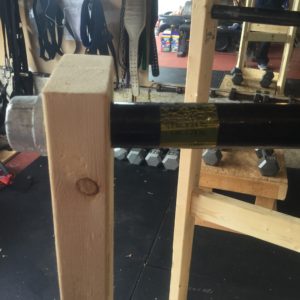
- Using your 1” spade blade, drill 4 holes in your uprights 1 ½” inches down from the top
- Install the 1”x24” steel pipes into the newly drilled holes in the uprights
- You may need to literally spin the steel pipes into the holes or hammer the uprights inside the threads on the pipe
- Either way, get the uprights inside the threads for the next step
- Hand tighten the Steel Pipe end caps onto the pipes
- Screw the 4, 19 1/2 inch cross members into the uprights with your Deck Mate Screws.
- DIY TIP – You want to center the 1 ½” end of the cross member on the face of the 3 ½” upright. That leaves 1” on both sides. Place a scrap of 1”x4” under the cross member to give perfect spacing.
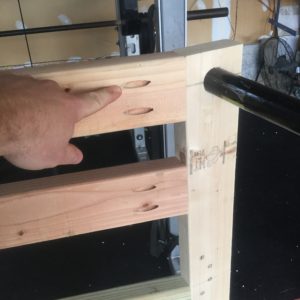
- With your Kreg Jig Screws, Screw the 5, 15 1/2 inch cross members starting from the top and work down

5, 15 1/2 inch cross members that CONNECT the sides of your DIY DIP STATION - Next, with your Kreg Jig Screws, Screw the 26 3/4 inch base cross member into the back of the uprights
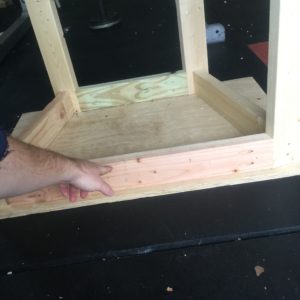
26 3/4 inch base cross member for added stability for DIY DIP STATION - Finally, screw your plywood base to your DIY Dip Station by following the below instructions
- Center your DIY Dip Station on your plywood
- TRACE with a pencil the outline of your DIY Dip Station
- Filp over the DIY Dip Station and center the base with the tracing marks UP
- With your Deck Mate Screws, screw the base into the DIY Dip Station ¾” inside your tracing
- Final Specs – 24″ Wide x 36″ Deep x 48″ Tall
Disclaimer
This article is for demonstration and educational purposes only. You, the reader, assume all liability during construction.
Please contact with me with any follow up questions or to train with me at my garage gym.